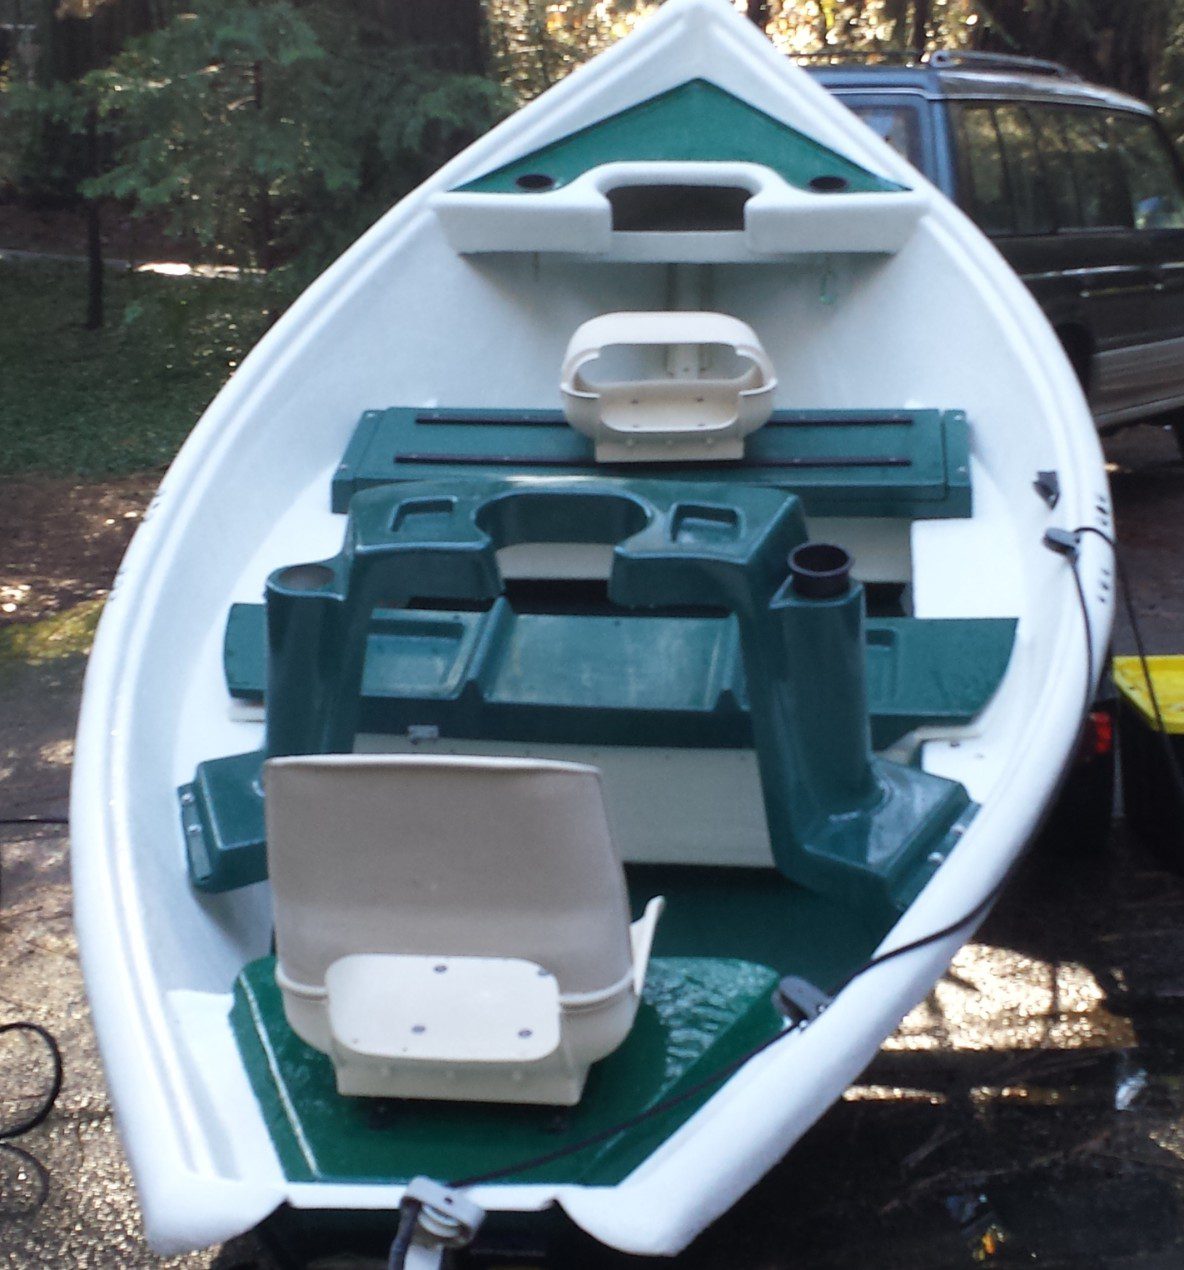
I’ve been helping a new fishing buddy, Mark Ruef, repair his drift boat. It is an older Clackacraft that he picked up for about $1200, including a trailer that is in good working condition. A pretty good deal I thought until I took a good look at it. When I asked Mark how much he’d paid for it I said, …
The Kingfisher’s First Float
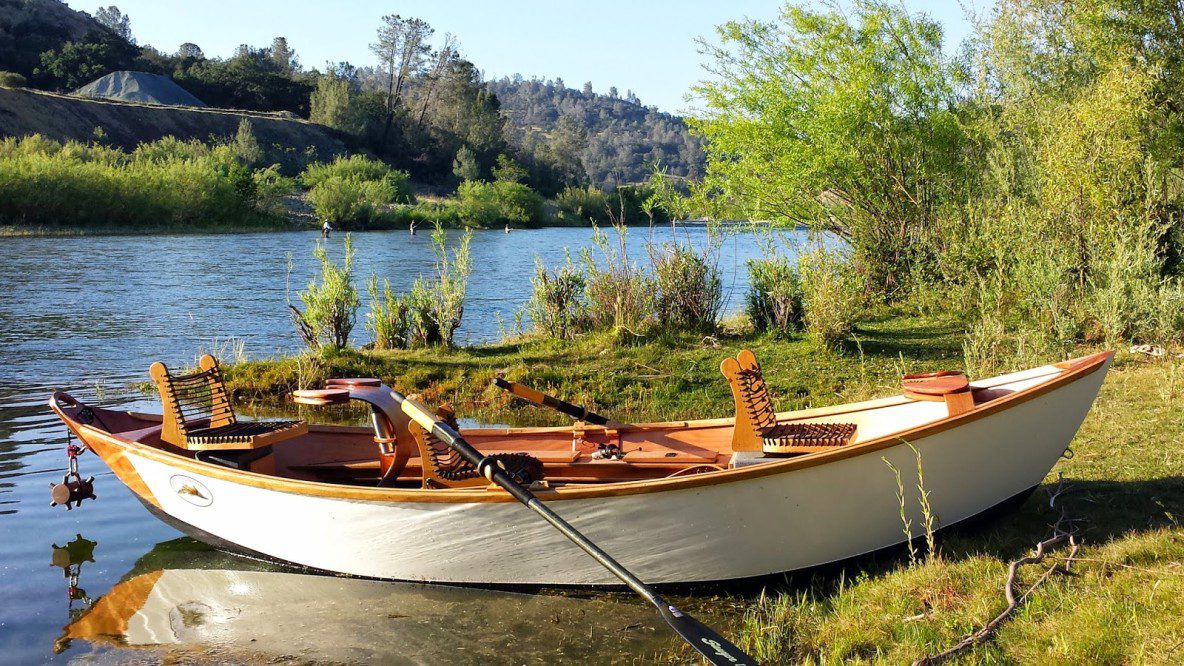
Well, after 7 months of dedicated work, countless hours of sanding and layers of epoxy and marine spar varnish, I was able to find out if my new handmade drift boat floats. It did, and it did so better than I had dreamed of. Let me explain. I had a few concerns prior to launching the “Barca de Trucha”, (Trout …
Kingfisher Drift Boat Build: I’m Done
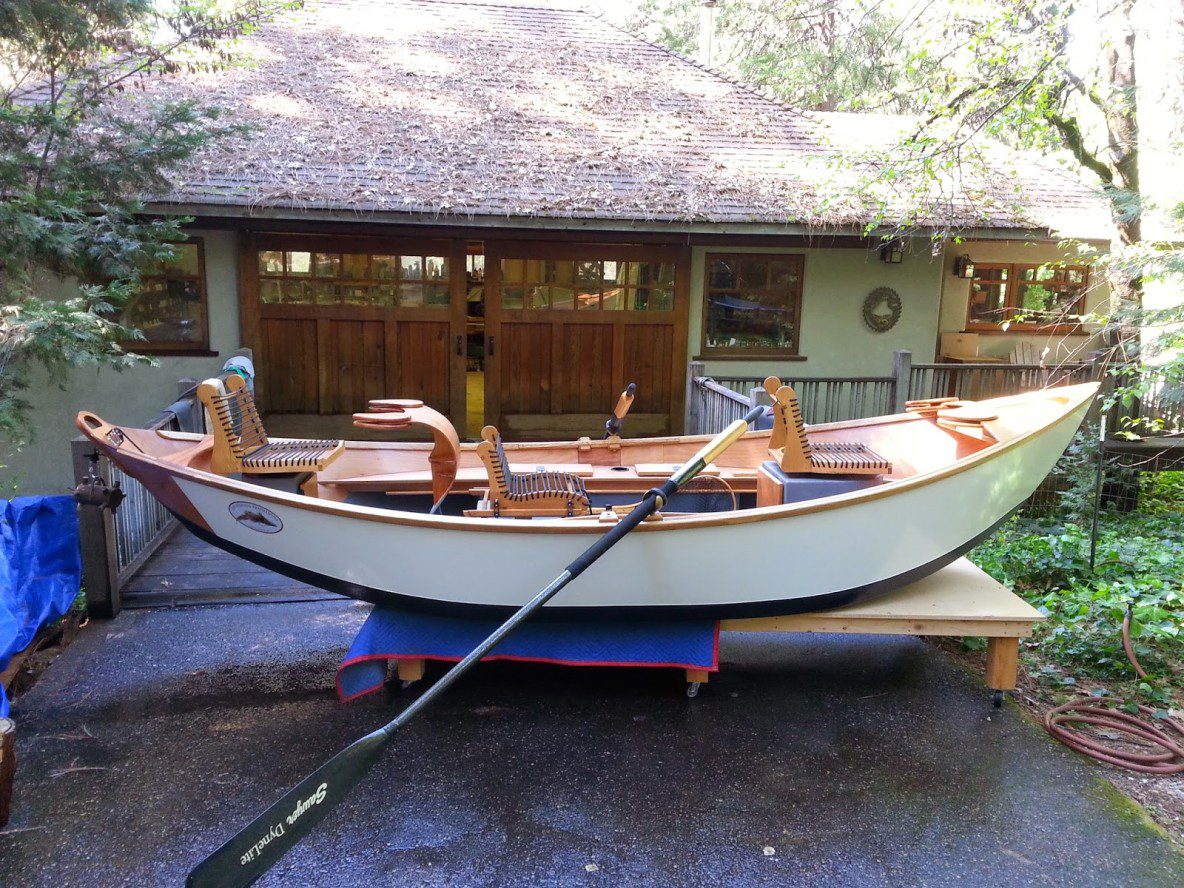
I started the “Kingfisher” build in September of 2014. Today is April 20th, 2015. It’s been quite a journey. I purchased the plans from Jason Cajune and they were worth every cent! The varnish has been curing and hardening for about two weeks, The build has taken me about 7 1/2 months, not bad from what I’ve heard. This includes …
Kingfisher Drift Boat Build: The Evolution of the Idea
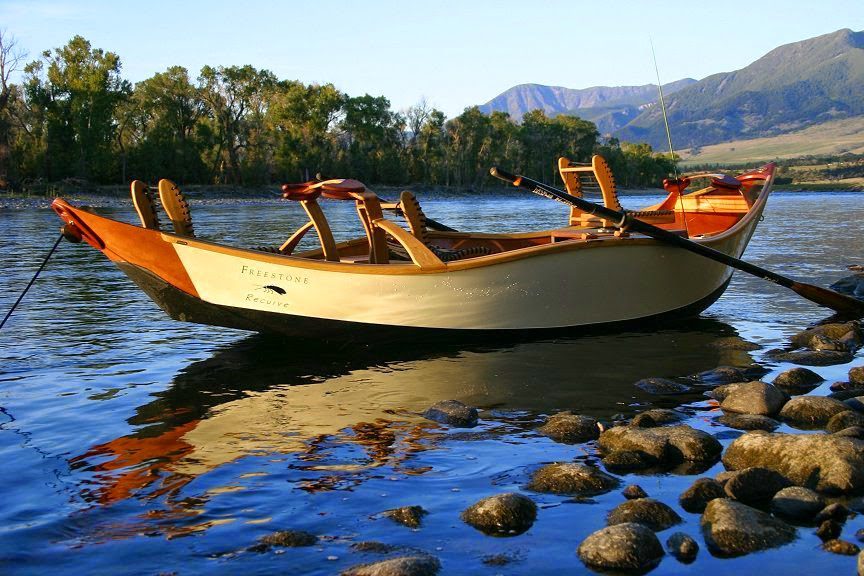
Two years ago I walked into Dan Bailey’s Fly Shop in Livingston, Montana and saw a two person driftboat built by Jason Cajune. It was both a work of art and a well thought out working boat. The exterior looked like a gel coat boat but the interior was detailed in mahogany. Wow, is what I said to myself. How …
Kingfisher Drift Boat Build: Scarfing the Side Panels
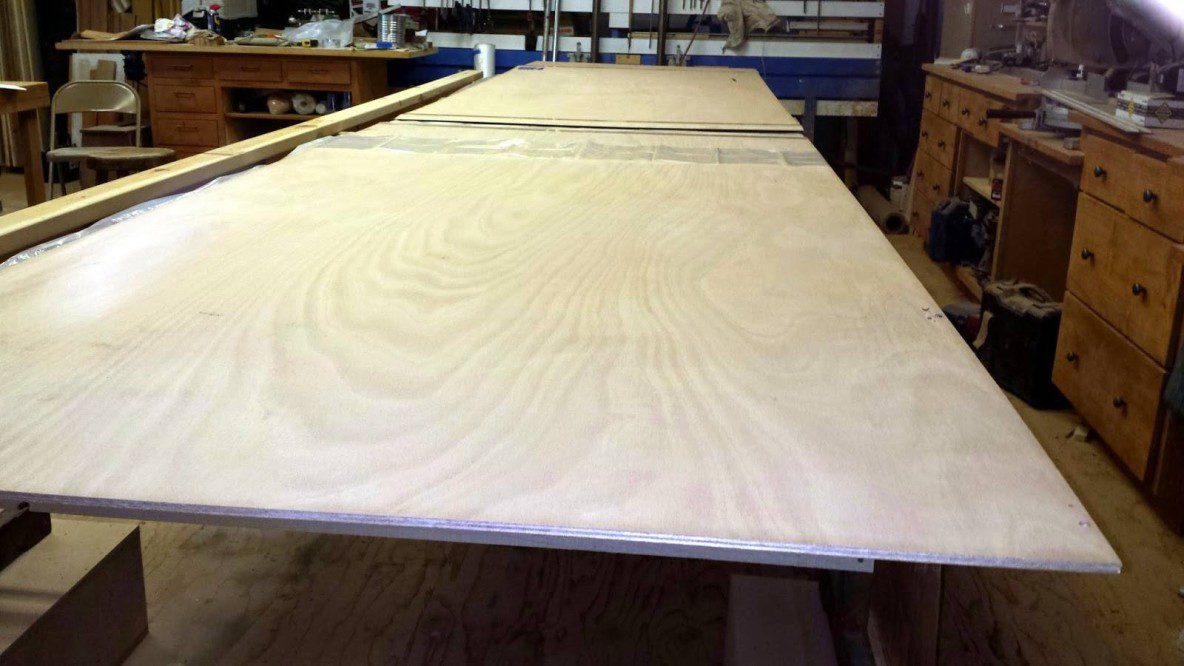
The next step for the Kingfisher build is to make one 3/8″ x 4′ x 18′ long plywood panel out of 2 sheets of 3/8″ x 4′ x 8′ and one piece of 4′ wide x 2′ long. You do this by “Scarfing” the two panels together. It can be described simply as joining two pieces of plywood to make …
Kingfisher Drift Boat Build: Installing the Decks
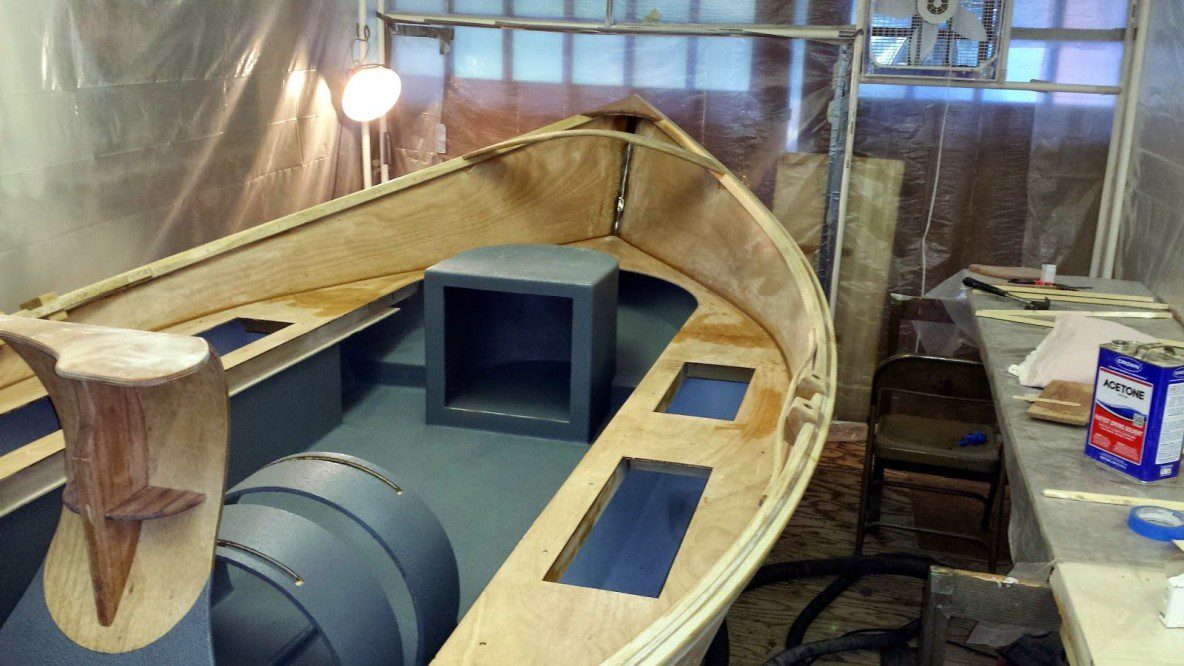
The two side decks and the front deck fit into the stem have been epoxied and screwed into place. With the completion of the paint job on the interior it is finally time to permanently install the two side decks which will cover the dry storage compartments and the front deck that fits into the stem. Installing the Deck Pieces …

